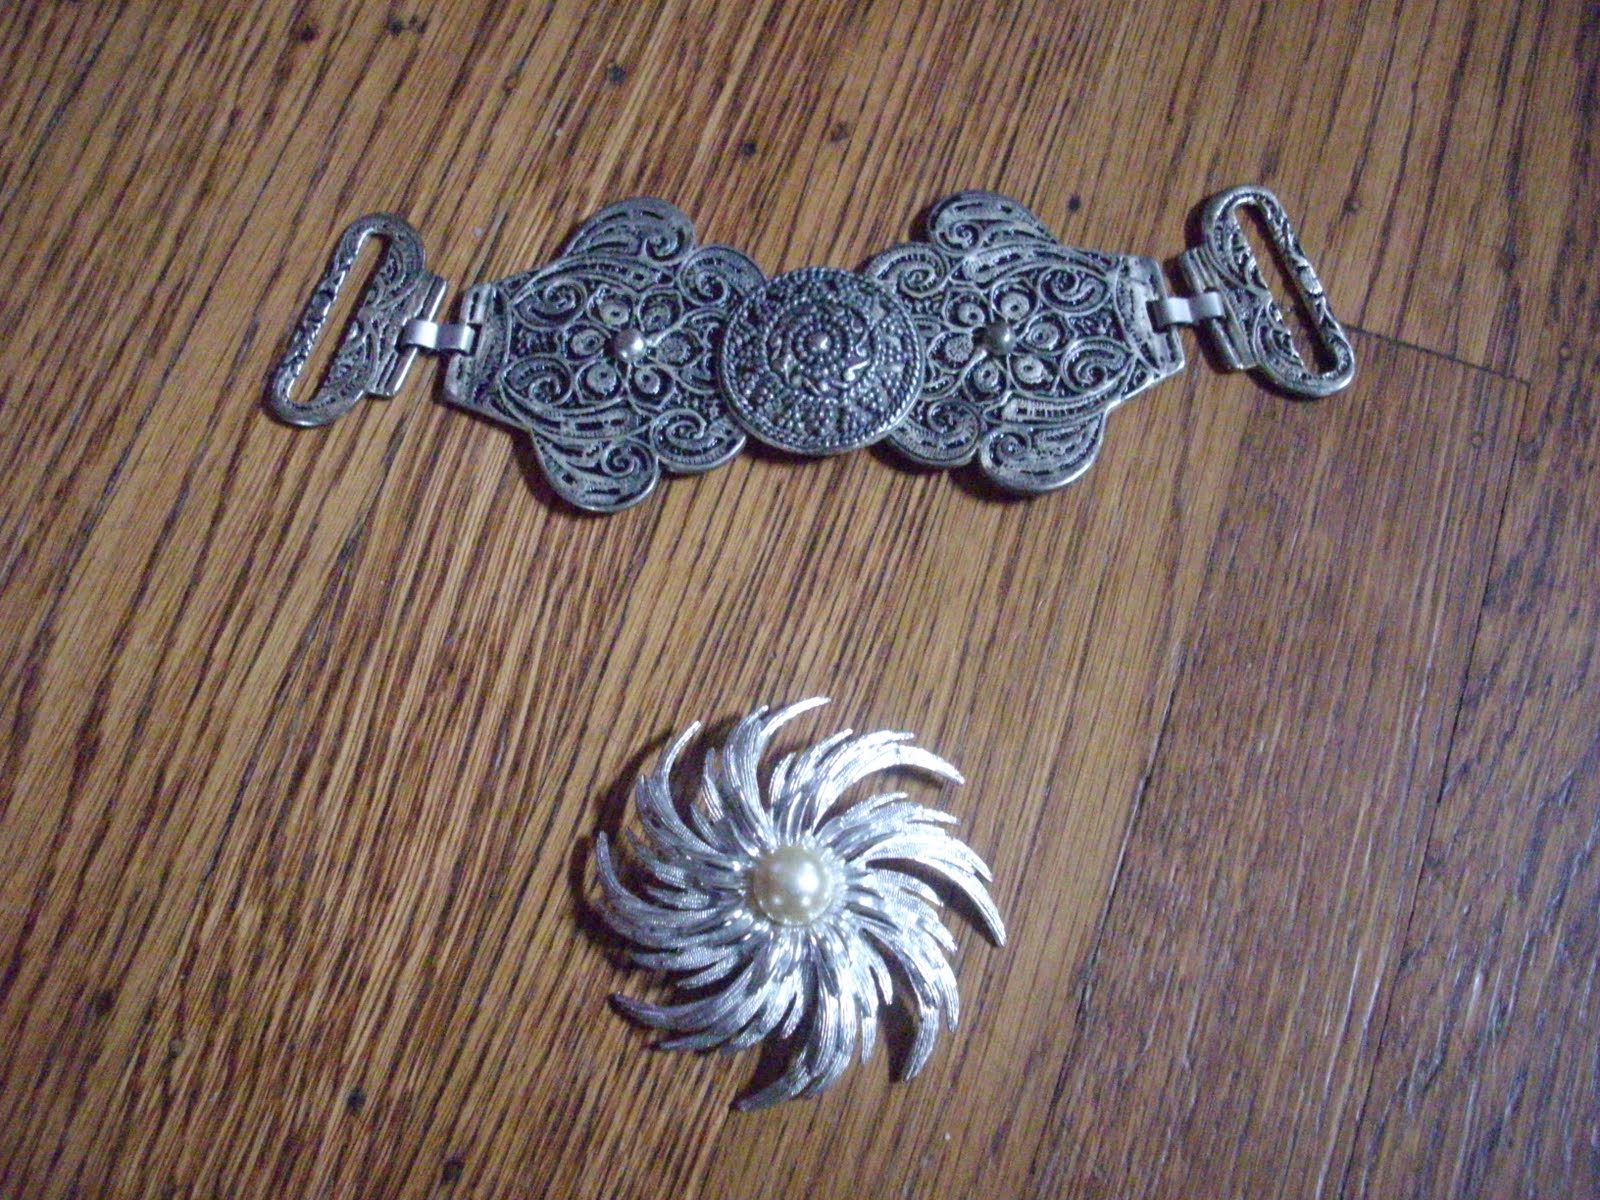
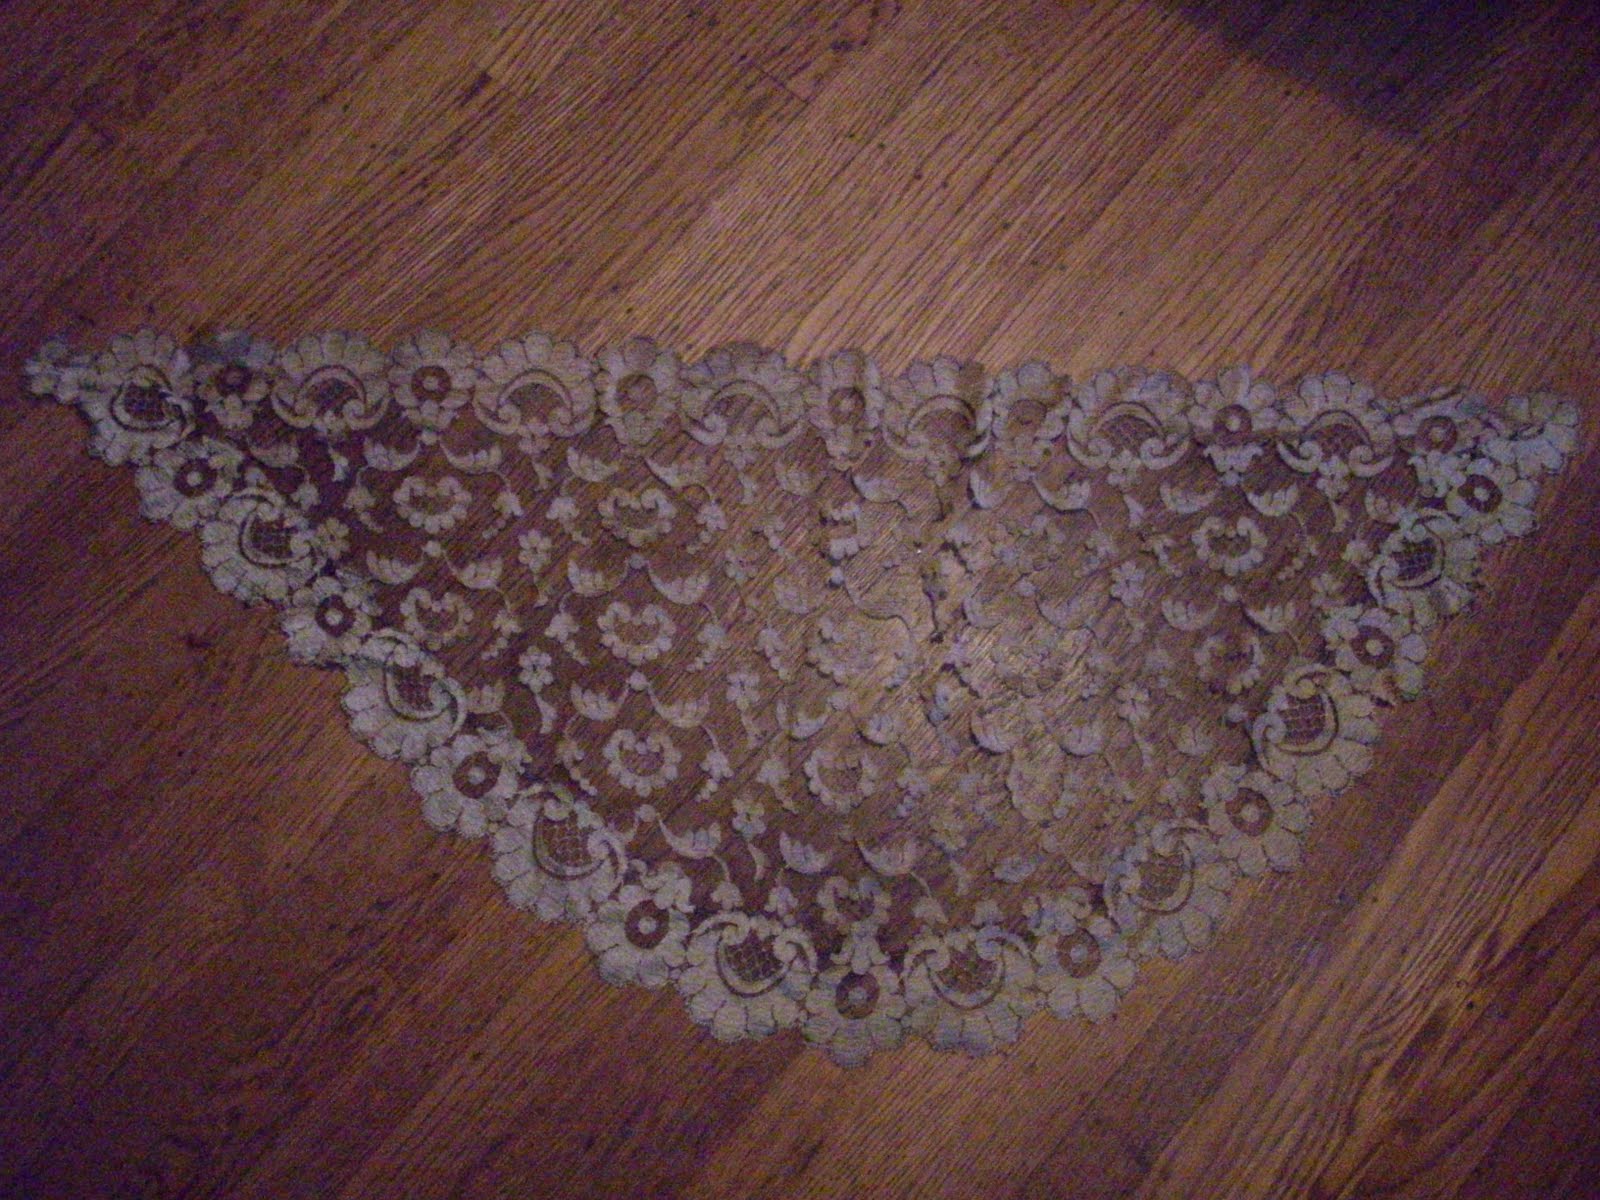
So, until I sat down today and started to lay out all my supplies to see what might go with what for which costumes, I had *no* idea how much I'd collected over the last six months. So much fabric! So many baubles! Trim! And danglies! And sparklies - oh, frackin' my!
Metal!
Fabric!
Stuffs galore!
And that's just a taste of some of the more recently acquired stuffs! As overwhelmed as I am with the possibilities, there are the three things I'm going to (try to) focus on for my next dance costume.
The bra (note the pins)
The belt (still in its proto stage)
The headdress (just a bunch o'bits)
I want the three main metal crescents to stand up and I think I can do that with some wire in the back and some hot glue. I think.
What does it all equal? I . . . don't really know. Last costume had a kinda barbarian circus feel (and I will be posting more photos of that one soon), but I have no idea the theme behind this one.
In Halloween costume news, I've got all the clothes for my costume together, big gnome pants for Igor, and a good creepy mask to build his evil gnome face on. My plan is to have Igor's costume done by the end of next month and my tail done by the end of June, then all that's left is my mask and getting all the stuff to decorate the house with - which I had a little epiphany about a couple days ago. For my birthday I'll have an evil gnome and zombie forest animal making party. No need for gifts, I'll just ask people to bring a baby doll or stuffed animal to zombify and - viola - we're well on our way to our own haunted forest!
Ok, so I've been MIA for how long now? Yeah, but I do have a really good excuse and I have been busy. In addition to starting to draw up solid plans for Halloween, I've recovered an entire bra, half re-covered another, completed the rest of an entire dancing costume, headdress and all - *and* danced in it!!!
Ta-da! Better lit and more detailed pictures to come.
I already have a pretty good idea of what I'm going to do for a second dance costume, but still have to gather all the materials. I'm thinking lots of silvery, shininess. Oooooo-ahhhh!
Now, onto Halloween. I've made a list of everything I need for the costumes and hope to make an initial run to the secondhand stores to see what I can get. Both costumes will be pretty simple except for two parts: my mask and my tail. Have NO idea how to do the tail, but for the mask it'll most likely be paper mache and fake fur using good ol' balloon based construction.
I'm thinking something like this:
crossed with this for the mask but using fake fur to make it into a full head mask.
Zombie squirrel here I come!
The posting here may be intermittent, but I am bursting with productivity like a salt baked slug in the summer sun!
Sometimes after Halloween it takes me a bit to get the ol' creative juices flowing again, but not this year! Igor and I are already planning for next Hallowmas and hot damn if they aren't some awesome plans. I think we already have our costumes thought out *and* a whole lawn/house decorating scheme. Now, I wonder if there's any place to buy lawn gnomes in bulk . . .
More than just for next year, our post-Halloween discussions have opened up other creative vista thingys. For the first time in who knows how long I've written (and absolutely completed) a short story! Igor has sketched some ideas for paintings he wants to complete this winter and he will be providing illustrations for my story.
Also, this weekend I get going on my next belly dance costume. I have no idea what I'm going to do about a headdress, but the rest is going to be a piece of cake.
Along the lines of dancing costumes, I want to try and recover a few of my old bras to make some nice dancing tops. I can't find any tutorials on recovering bras, but I wouldn't mind achieving something like these two: Found here
I had a wonderful Halloween weekend as I hope everyone did! There was lots o' dancing and drinking and free cupcakes, giant babies and long-lost friends found, sugar-crazed children and general revelry.
This Halloween also made me realize how every day I should consider myself putting on a costume: my going to work costumes, my going out to play costumes, costumes for bike rides and rainy days and snowy days and adventure walks, even my I'm-a-gamer-who-isn't-even-going-outside-once-today costume (this consists of a bathrobe with a hood and the comfiest sweatpants known to humankind).
Anyway, as the Halloween dust settles I'll post more pics, but here's the first of us in full costume:
Best after Halloween movie ever? The Nightmare Before Christmas of course!
A short list of what I hope to work on this winter: - Fancy framed felt flowers - Books, books, books - Swirly, shiny, kick-ass belly dance costuming - Soup for all occasions! - Gruesome gnome stories
I attended a potluck birthday party that was also a screening of The Shining. For the potluck portion of the evening the only guideline for food was that it had to be gross.
So, I made baked intestines. I found the recipe for these Faux Stuffed Intestines at 365Halloween. I almost made bloody jello worms, but as the birthday girl is vegetarian, I thought this vegan dish was the better option. The guts were quickly devoured at the party and they're so good I think I'll make a version of them throughout the winter! Mmmm, healthy vegan intestines.
Now back to putting the finishing touches on costumes and watching Hammer Horror movies. Tonight, one of my all time favorites, Horror Express!
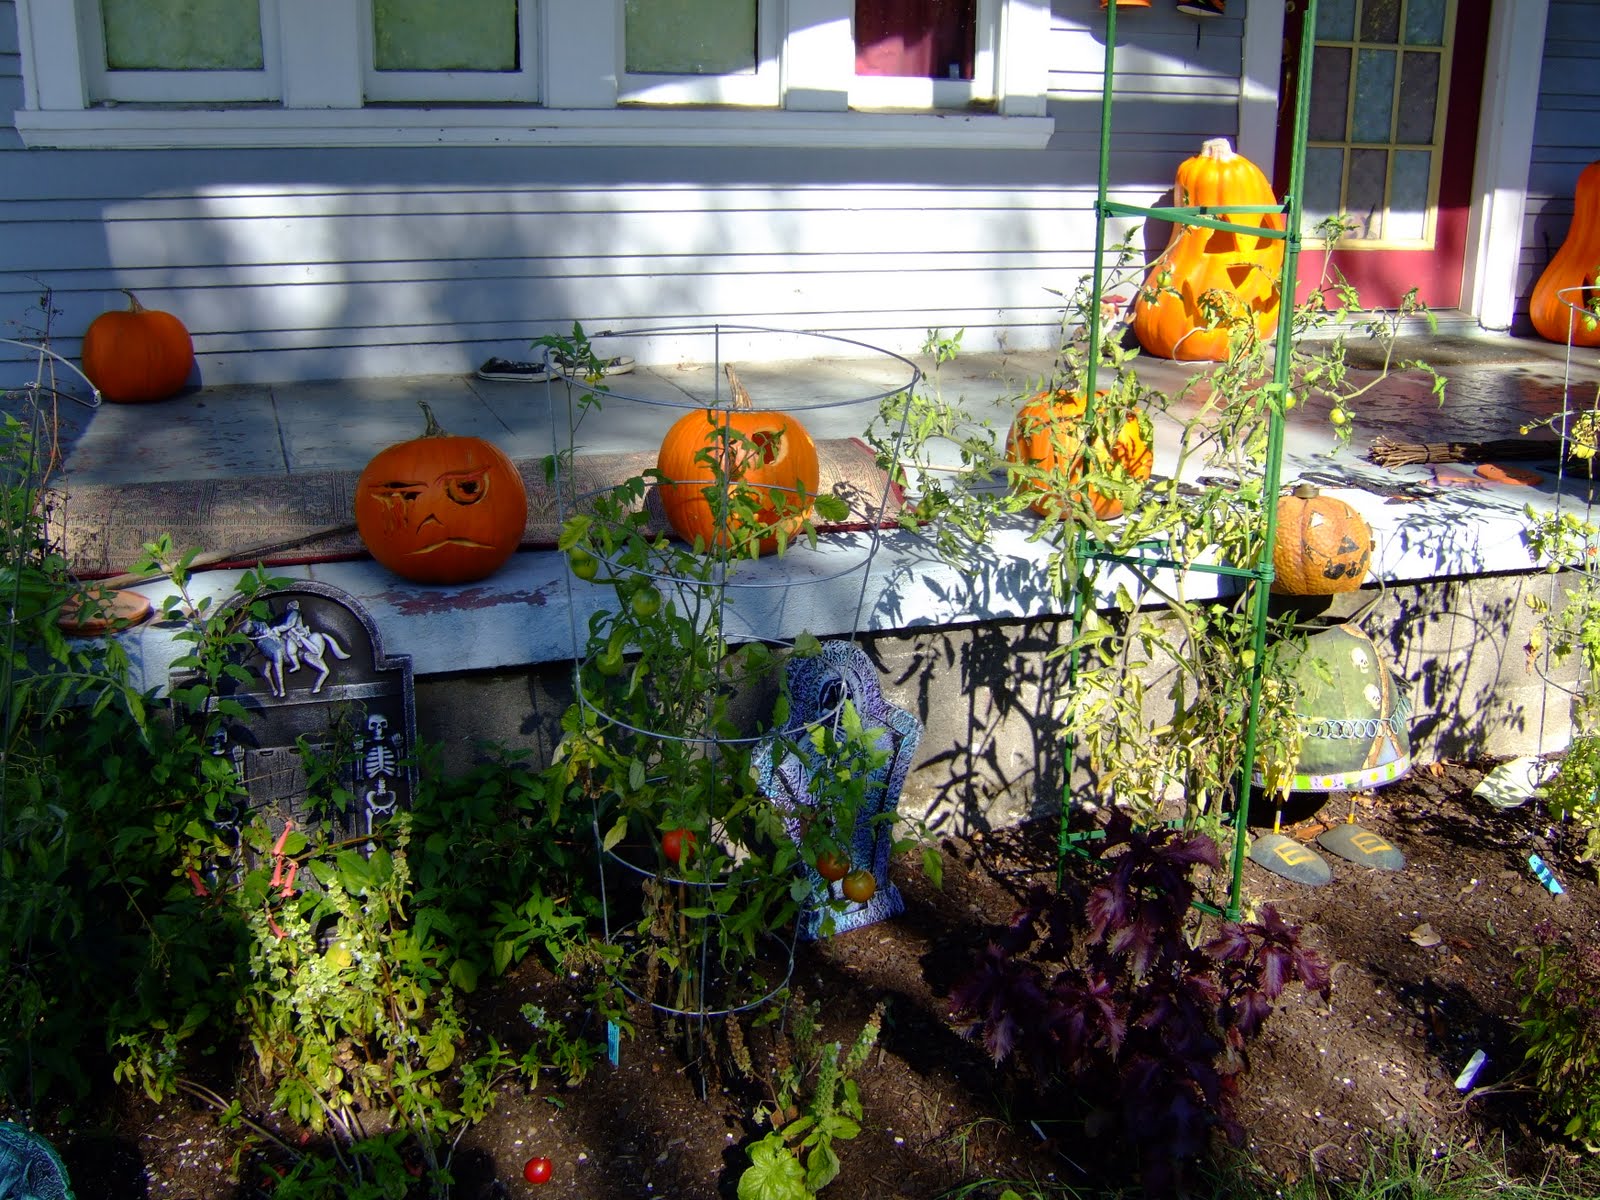
Not that we don't have Halloween stuff up most of the year, we do, but weekend before last we added a little extra seasonal charm: cobwebs, tombstones and giant pumpkins!
I've also already had some carving fun. My friends built a nice fire in their backyard and we sat around disemboweling pumpkins.
Success! Mine is the disgruntled, drool-eyed pumpkin on the left.
Pumpkin guts for all (this Halloween seems to be guts themed)
And here's a little something to watch. Yeah, yeah, I know they did something similar on So You Think You Can Dance, but there's something so charming about this small Halloween gathering version that I love:
Materials needed: - Used bike tire inner tubes (make sure they're tubes for thicker tires and not skinny racing bike tires) (I got these for free from a bike shop) - Paint (red, blue, white, black, green), acrylic or tempera - Batting (I just got a couple of not-too-thick sheets of the stuff) - Needle and *strong* Thread - Elmer's Glue (or some kind of generic white glue that will dry clear and not too hard) - Backing fabric (thin canvas or cotton works well, fleshy colored fabric if you can get it)
Step 1. Cut off the valves of the tire inner tubes so that they tubes are cut in half.
Step 2. Cut a couple lengths of batting all the same width so you have uniform strips. Roll the first strip lengthwise and secure with safety pins. Next roughly secure the roll with stitching - doesn't have to be pretty, just has to keep the batting in it's rolled state. Since the tube will probably be longer than the length of the rolled batting, connect two or three rolls together.
Step 3. Cut a length of thread that is almost three times the length of the tube. Thread needle and knot. At one end of the batting roll, stitch and wrap the thread so it is securely attached to the end of the roll. Put the needle into the tube and feed it through until the needle comes out the other end of the tube. Stuff as much of the batting roll into the tube as possible, (I used a chopstick to force more into the tube, no need to be gentle), then grab the needle and thread coming out the opposite end of the tube and pull. You'll want to pull as steadily as possible and not yank. It's hard to start the batting sliding through the tube, but gets easier as you go along.
Step 4. Now comes the fun part: Painting! I first painted the intestines (which is what I'll call them from now on) a grayish blue and let them dry.
Step 5. Arrange the intestines how you want by using a piece of backing fabric and then superglue into place. I just used the vest that Igor will be wearing. Once everything is securely glued, stitch the guts to the fabric in a few places to make sure they stay put.
Step 6. Next brush on some green and brown to give the intestines that special "I move the body's waste" look they should have. Also, if you used tempera paint and forgot to spray on a sealant before arranging the guts (like I did) this last painting can be used to touch up any bits of the intestines where paint has flaked off. Mmmm, still gooey looking.
Step 7. This step is really called "glue-blood" because that's what it's all about. I mixed about two-parts red paint with a little less than one-part brown paint, and one-part glue to make this mixture. By adding the glue I can let the blood dry and it still looks a bit shiny and slick like it's fresh. This is important because although my big bad wolf is tough, he hates having a cold, wet stomach. (I found this out on the first zombie walk we went on together and he complained that his guts were making his tummy cold - ha!). It also means you can have a pre-made, ready to use stash of guts that are easy to store and won't get moldy as when nylons and wet paper towels are used.
Below is kinda my blood and guts pallet. The darker glue-blood sample is from mixing black and red paint together, but I like the one that's a bit lighter mixed from brown and red because it looks a bit fresher.
Step 8. Coat guts with the glue-blood and let dry (this can take up to 24-hours depending on how thick you pour the glue-blood). If you're using tempera and blood coat on the intestines dries with a bit of a chalky look, just go back in and re-coat the intestines with glue so they have a shinier finish.
Because I attached the guts directly to the vest, I didn't included a step where they are attached to some sort of other mounting material (a long strip of cloth or a thin belt) so they can easily be positioned around the waist. Still, that's the way to go if you really want ready-to-wear guts for all occasions.
Finally: Right before stepping out with your new guts, drip some fresh fake blood over them for that just eviscerated look. En voila!!!
With slashed vest
I don't think the guts are perfect - this is the first time I've made them - but I like 'em and hope to improve on the design in the future.
P.S. I learned everything I needed to know about fake guts from this film